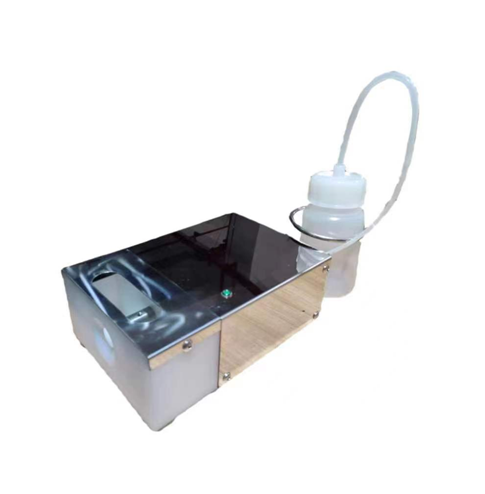
Gumming and Glueing Machine for Medical Products
(1) After the gluing operation is completed, the power switch should be turned off. If the glue is not used for more than 2 days, the remaining glue should be drained to prevent the glue from drying out and blocking the roller side hole and detecting the stuck shaft core.
Second, product introduction
This product uses cyclohexanone or low viscosity liquid as adhesive, and is applied to the outer surface of the part to be bonded. Product features: simple operation, based on reliable and stable, without the traditional skilled gluing operation can be stable to meet the product process requirements, can effectively reduce the volatilization of the glue in the operation, but also has the advantages of saving the amount of glue used, avoiding the internal glue into the pipeline, reducing the remaining amount of glue and so on.
The working principle of the product is that the glue in the liquid tank of the gluing head is attached to the gluing head by rotating the gluing head, and then enters the center hole of the gluing head through the gluing hole of the gluing head. After the glue is attached to the inner hole wall of the gluing head, the pipe that needs to be glued is inserted into the center of the gluing head. This method can quickly apply glue to different pipe diameters.
According to the normal order of operation, the machine is generally divided into the following steps from boot to glue operation:
3.1 Installing the glue head
Open the glass cover plate, install the glue head corresponding to the diameter of the pipe on the rotating shaft, and tighten the screw, and test the press to detect the flexible movement of the shaft core. Then cover the glass cover and screw it on.
3.2 Glue solution addition and glue amount control
First of all, add a sufficient amount of glue to the glue pot and directly squeeze the pot body by hand. At this time, the glue level in the liquid tank of the glue head is visually detected. As long as the liquid level exceeds the liquid level of the outer circle of the glue head by 2~5mm, the actual height can be controlled according to the size of the pipeline and the amount of glue applied. Try to control at the same height, so that the amount of glue is more stable. The stand-alone model requires employees to regularly add glue solution, and can not be operated without glue, otherwise it will cause batch product unqualified phenomenon. Centralized glue supply only needs to verify the height of the glue liquid during the equipment installation and commissioning period, and ensure the normal operation of the supply pump in the later stage. There is no need to consider this problem in normal production, only a simple daily maintenance check is required.
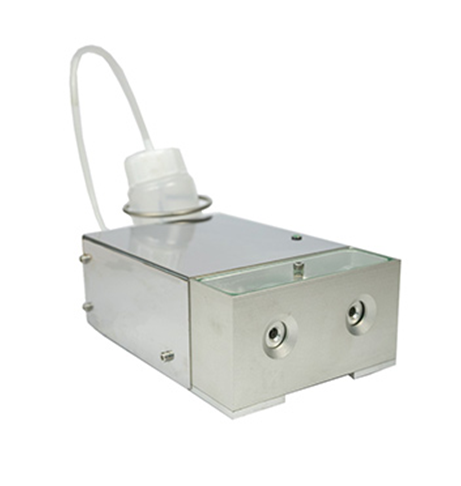
3.3 Turn on the main power supply
Connect the power supply, plug the round end DC24V power plug of the power adapter into the power jack at the back of the device, and then connect it to the AC220V power socket, and then press the power button on the side of the device. At this time, the power indicator is on, and the place detection indicator on the upper part is on. Wait for 1 minute.
3.4 Glue operation
Insert the pipe that needs to be coated directly into the center hole of the glue head, and take it out until the detection indicator is on, and then quickly insert the parts that need to be glued to complete a bonding operation.